Welcome to the world of backend development! In this article, I’ll guide you through the process of getting onboarded for backend development for Aggie Events.
If you have any issues with the setup or overall questions, feel free to DM me (Alex) or ask in the Discord server.
Setting up your development environment
Here are all the things you will need to install to get started with backend development:
- IDE/Text Editor: This can be any application of your choice. I would recommend either Visual Studio Code or Webstorm.
- Git This will allow you to clone the repository and push your changes. You can download it here.
- Node.js: Node.js is a JavaScript runtime that allows you to run JavaScript on the server side. You can download it here.
- Docker Desktop: Docker Desktop is a tool that allows you to run the PostgreSQL database on your local machine. You can download it here.
Cloning the repository
To get started, you will need to clone the repository. You can do this by running the following command in your terminal:
git clone https://github.com/Aggie-Events/aggie-events.gitNext, navigate to the project folder and checkout to the backend branch, which should have the most up-to-date backend code.
cd aggie-events
git checkout backend
Getting the right environment variables
To run the backend code, you will need to set up some environment variables to get the code to run correctly. Environment variables are variables that are set outside of the code and are used to configure the application. Importantly, they are not tracked by git to keep sensitive information secure.
You will have to create a total of three .env files in three different locations:
One will be in your root directory. This file will contain the following:
PGADMIN_DEFAULT_EMAIL=[email protected]
PGADMIN_DEFAULT_PASSWORD=root
The next .env file will be in the frontend directory. This file will contain the following:
NEXT_PUBLIC_API_URL=http://localhost:5000/api
NEXT_PUBLIC_AUTH_URL=http://localhost:5000/auth
GOOGLE_CLIENT_ID=[INSERT GOOGLE CLIENT ID HERE]
GOOGLE_CLIENT_SECRET=[INSERT GOOGLE CLIENT SECRET HERE]
For both the GOOGLE_CLIENT_ID and GOOGLE_CLIENT_SECRET, check the #env channel in the Discord server for the values. Make sure to keep these values secure and not share them with anyone.
The last .env file will be in the backend directory. This file will contain the following:
DATABASE_URL=postgres://postgres:aggieevents@localhost:5432/agev
POSTGRES_PASSWORD=aggieevents
GOOGLE_CLIENT_ID=[INSERT GOOGLE CLIENT ID HERE]
GOOGLE_CLIENT_SECRET=[INSERT GOOGLE CLIENT SECRET HERE]
BACKEND_SECRET=[INSERT BACKEND SECRET HERE]
FRONTEND_URL=http://localhost:3000
BACKEND_URL=http://localhost:5000
For the GOOGLE_CLIENT_ID and GOOGLE_CLIENT_SECRET, you can use the same values as the frontend/.env file.
For the BACKEND_SECRET, you can put any random string here.
Starting the local database instance
For this project, we are using a PostgreSQL database running as a Docker image. You don’t really have to know how to use Docker to start the database.
To start the database, navigate to the root directory of the project in a terminal and run the following command:
docker compose -f compose.dev.yml up -dThis command will start the PostgreSQL database in the background. I also included a program called pgAdmin that you can use to interact with the database.
Troubleshooting Common Errors
While setting up your development environment, you might encounter some common errors. Here are a few tips to help you troubleshoot them:
If you continue to experience issues, don’t hesitate to ask for help in the Discord server.
You can check if the programs are running by opening Docker Desktop and looking at the running containers.

Docker Issues
- Docker Daemon Not Running: Ensure that Docker Desktop is running. You can check this by looking for the Docker icon in your system tray.
- Port Conflicts: If you encounter port conflicts, make sure no other services are running on ports
5432(PostgreSQL) and5050(pgAdmin). You can change the port in the compose file.
Environment Variables
- Missing Environment Variables: Double-check that all required environment variables are set correctly in your
.envfiles. - Incorrect Values: Ensure that the values for
GOOGLE_CLIENT_ID,GOOGLE_CLIENT_SECRET, andBACKEND_SECRETare correct and match the ones provided in the Discord server.
Node.js and npm Issues
- Version Mismatch: Ensure you are using the correct version of Node.js as specified in the project’s documentation.
- Dependency Installation: If
npm installfails, try deleting thenode_modulesfolder andpackage-lock.jsonfile, then runnpm installagain.
Database Connection
- Connection Refused: Ensure that the PostgreSQL container is running and that the connection details in pgAdmin match the ones specified in your
.envfile. - Authentication Failed: Double-check the username and password for the PostgreSQL database.
Accessing the Docker database (optional)
To actually access your local database instance, there are many different methods. I personally prefer using Webstorm with their built-in database source. However, for ease of use, I’ve included a pgAdmin container, which is a program that allows you to access the database.
Access this by navigating to http://localhost:5050 in your browser. You should see the pgAdmin login page.
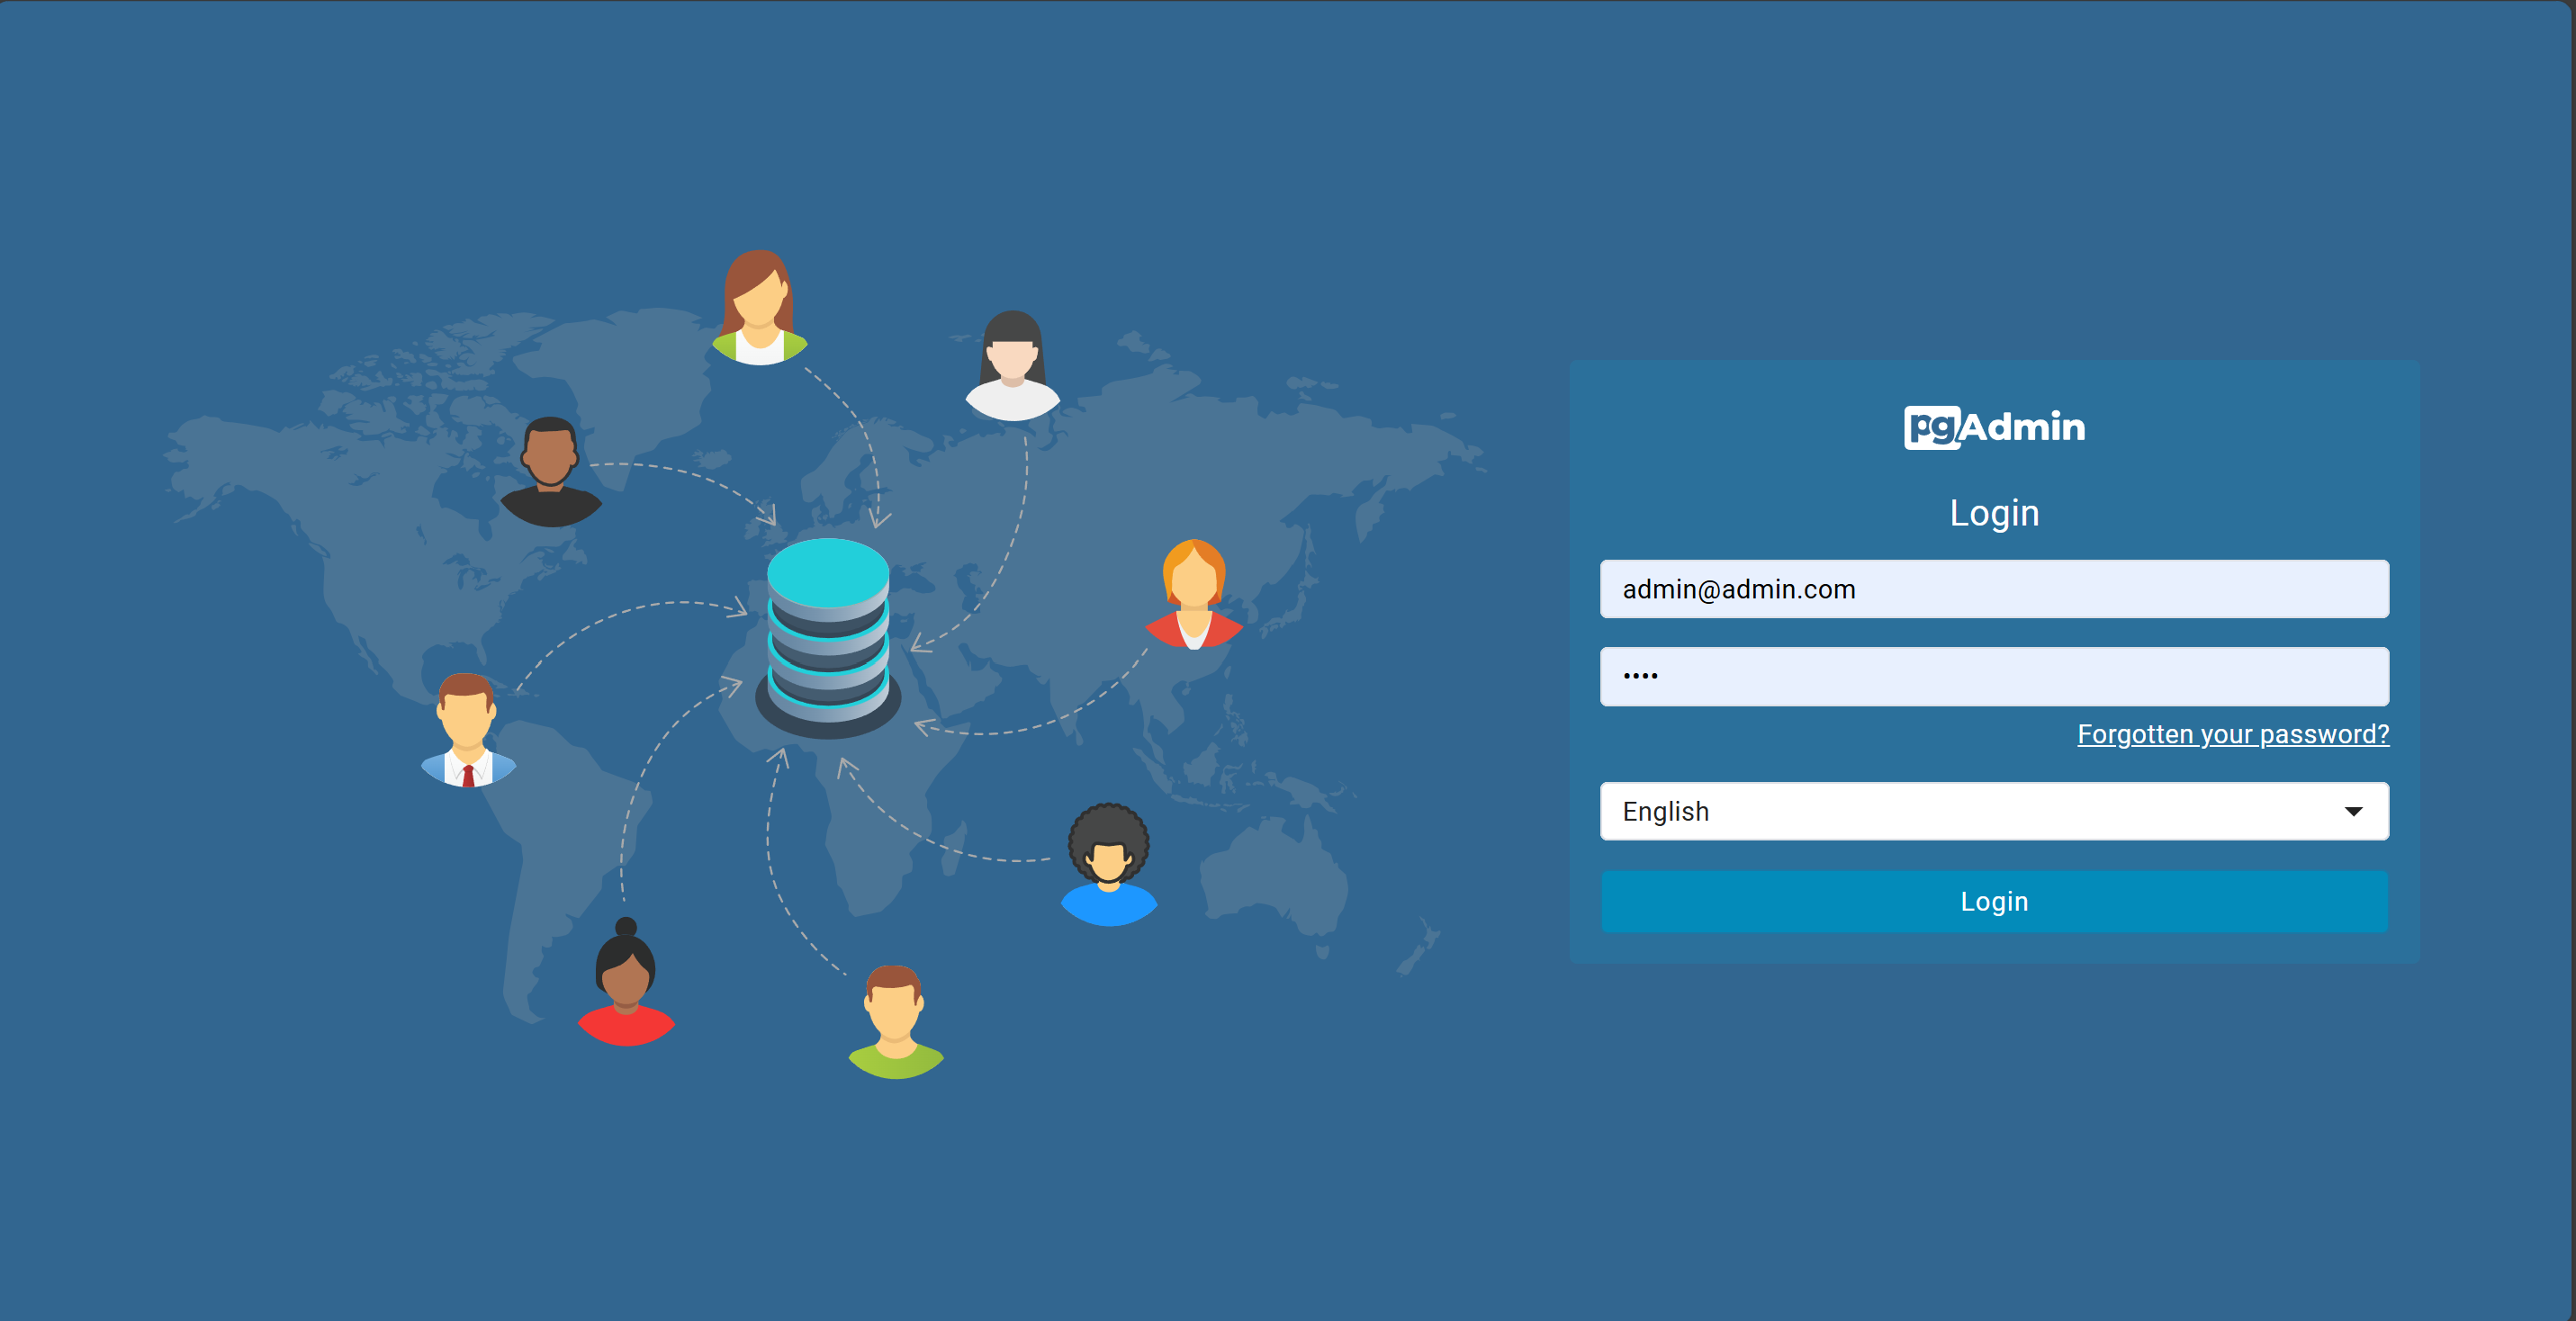
Log in with the email and password specified in the .env file in the root directory. If you didn’t change anything, the email should be [email protected] and the password should be root.
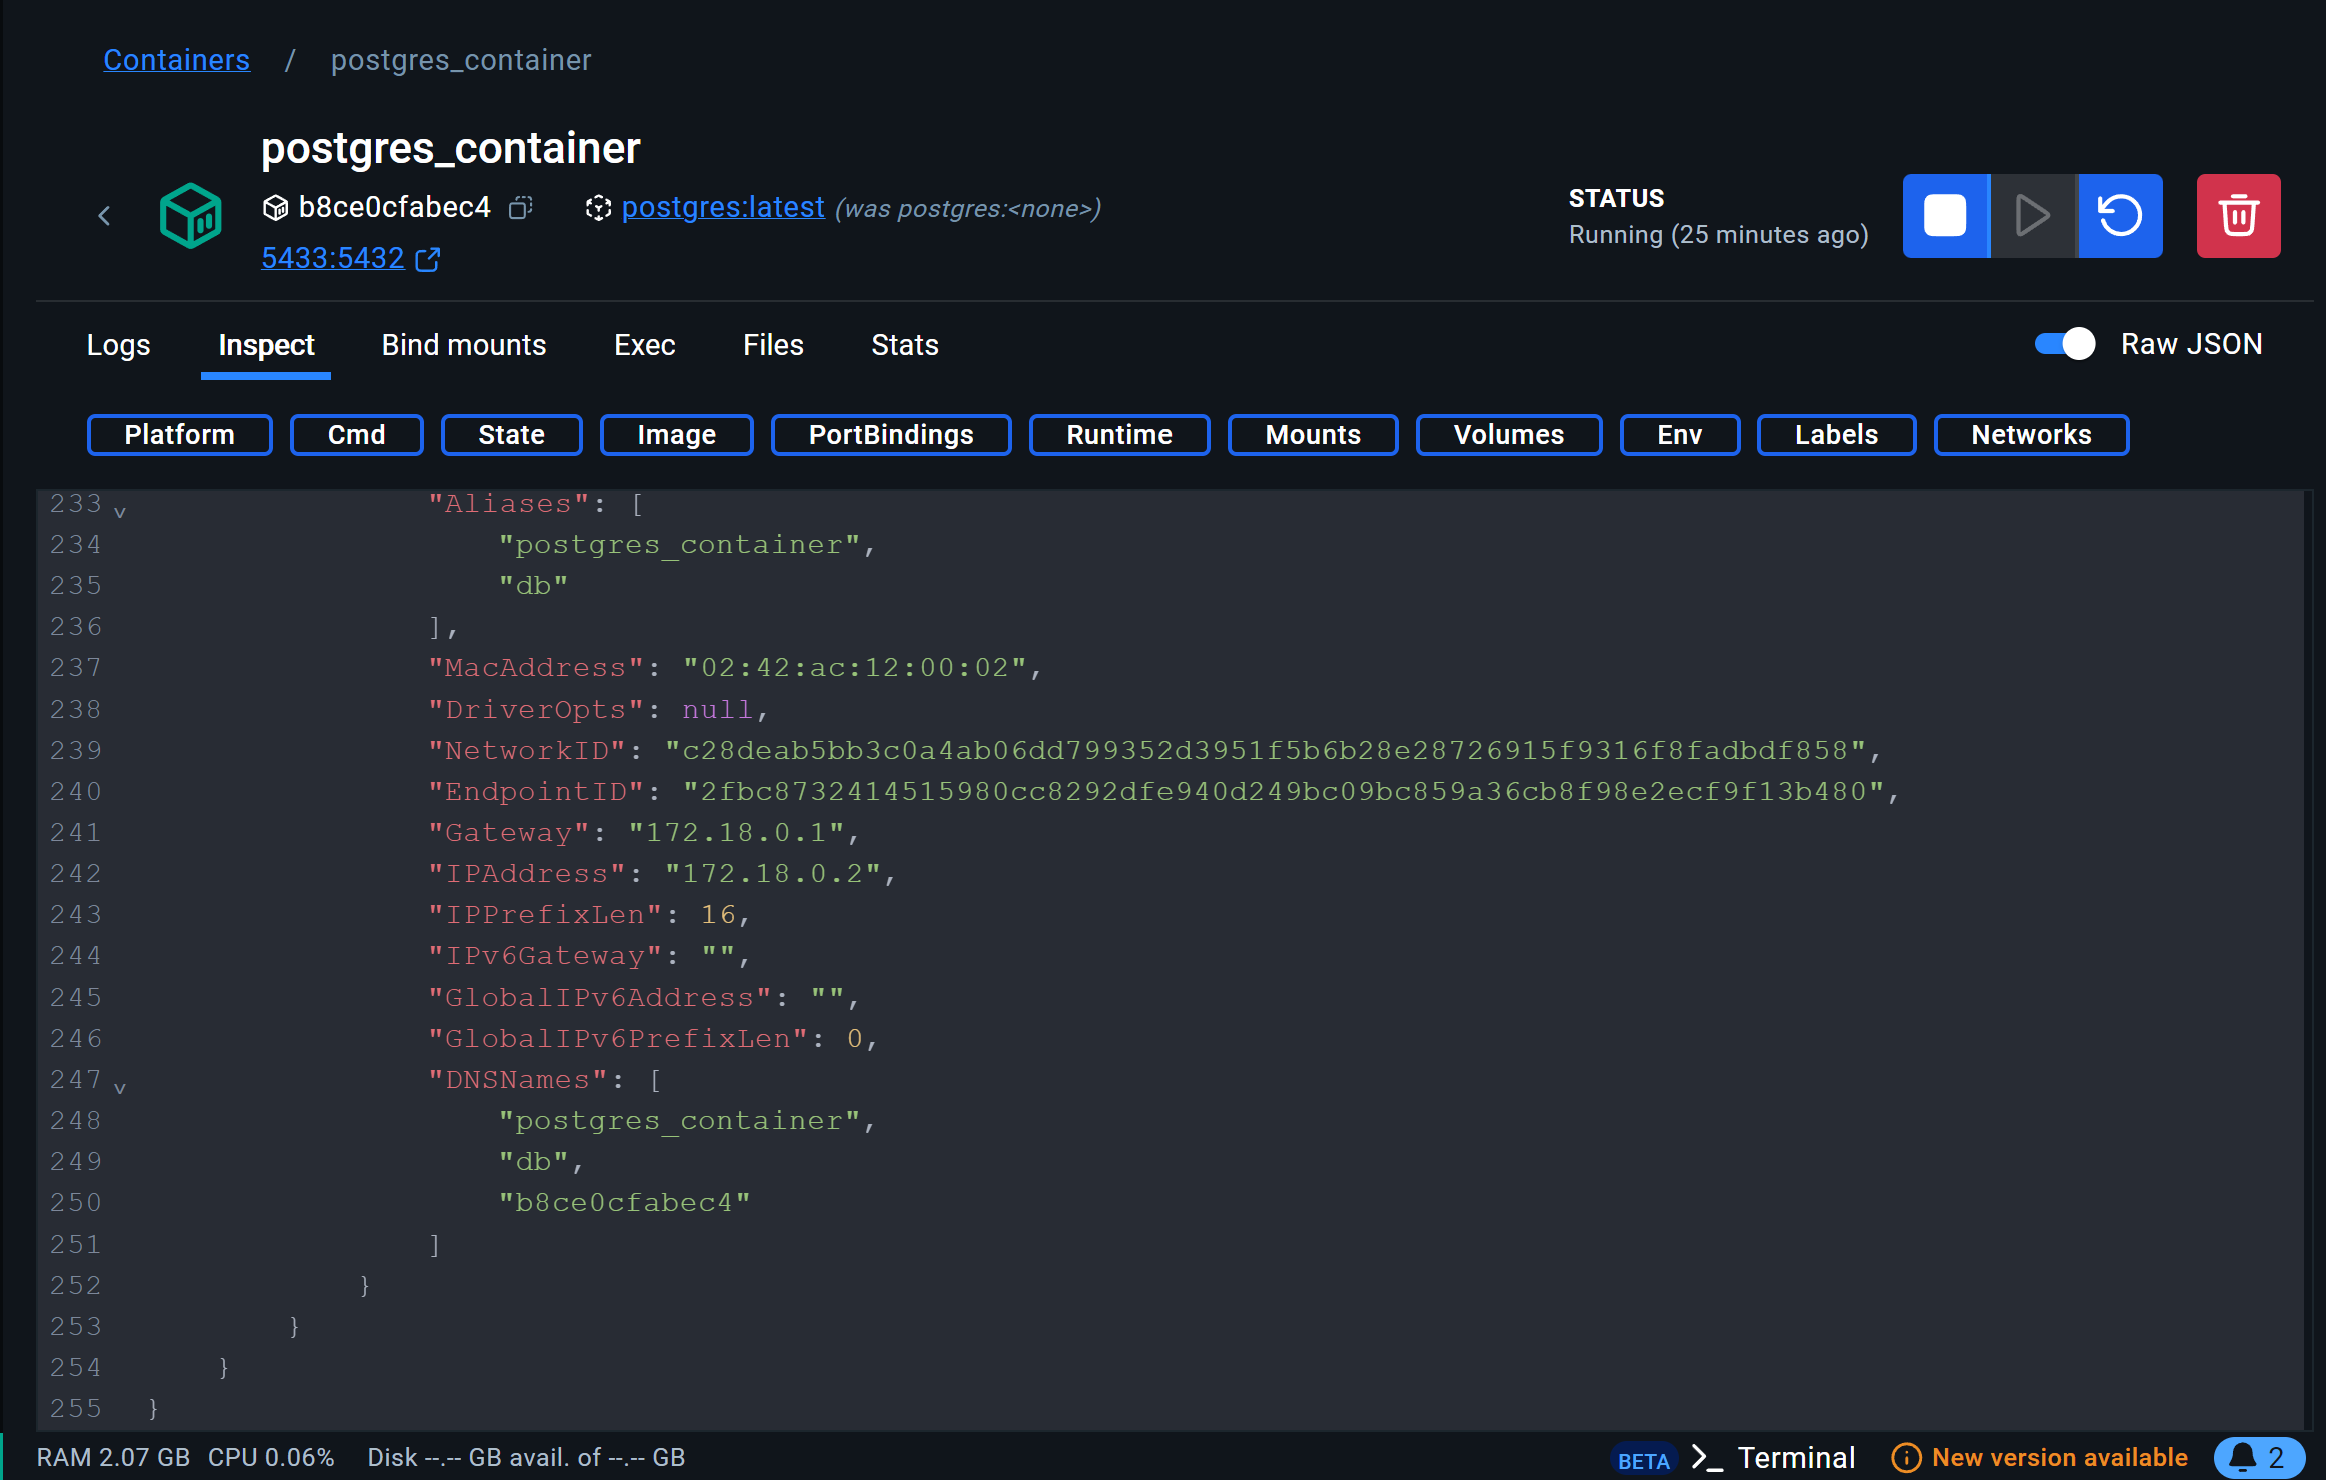
To actually register the database into pgAdmin, you will have to first find the IP address of your PostgreSQL docker container. This can be found by either using the docker inspect postgres_container command and scrolling down to the IPAddress value, or by inspecting the database container in Docker Desktop.
Next, you can register a database in the pgAdmin web interface by right-clicking on Servers, and clicking Register > Server. Put any name you like.
In the Connection tab, under Host name/address, put the Docker container IP address. Change the username and password to postgres and aggieevents respectively.
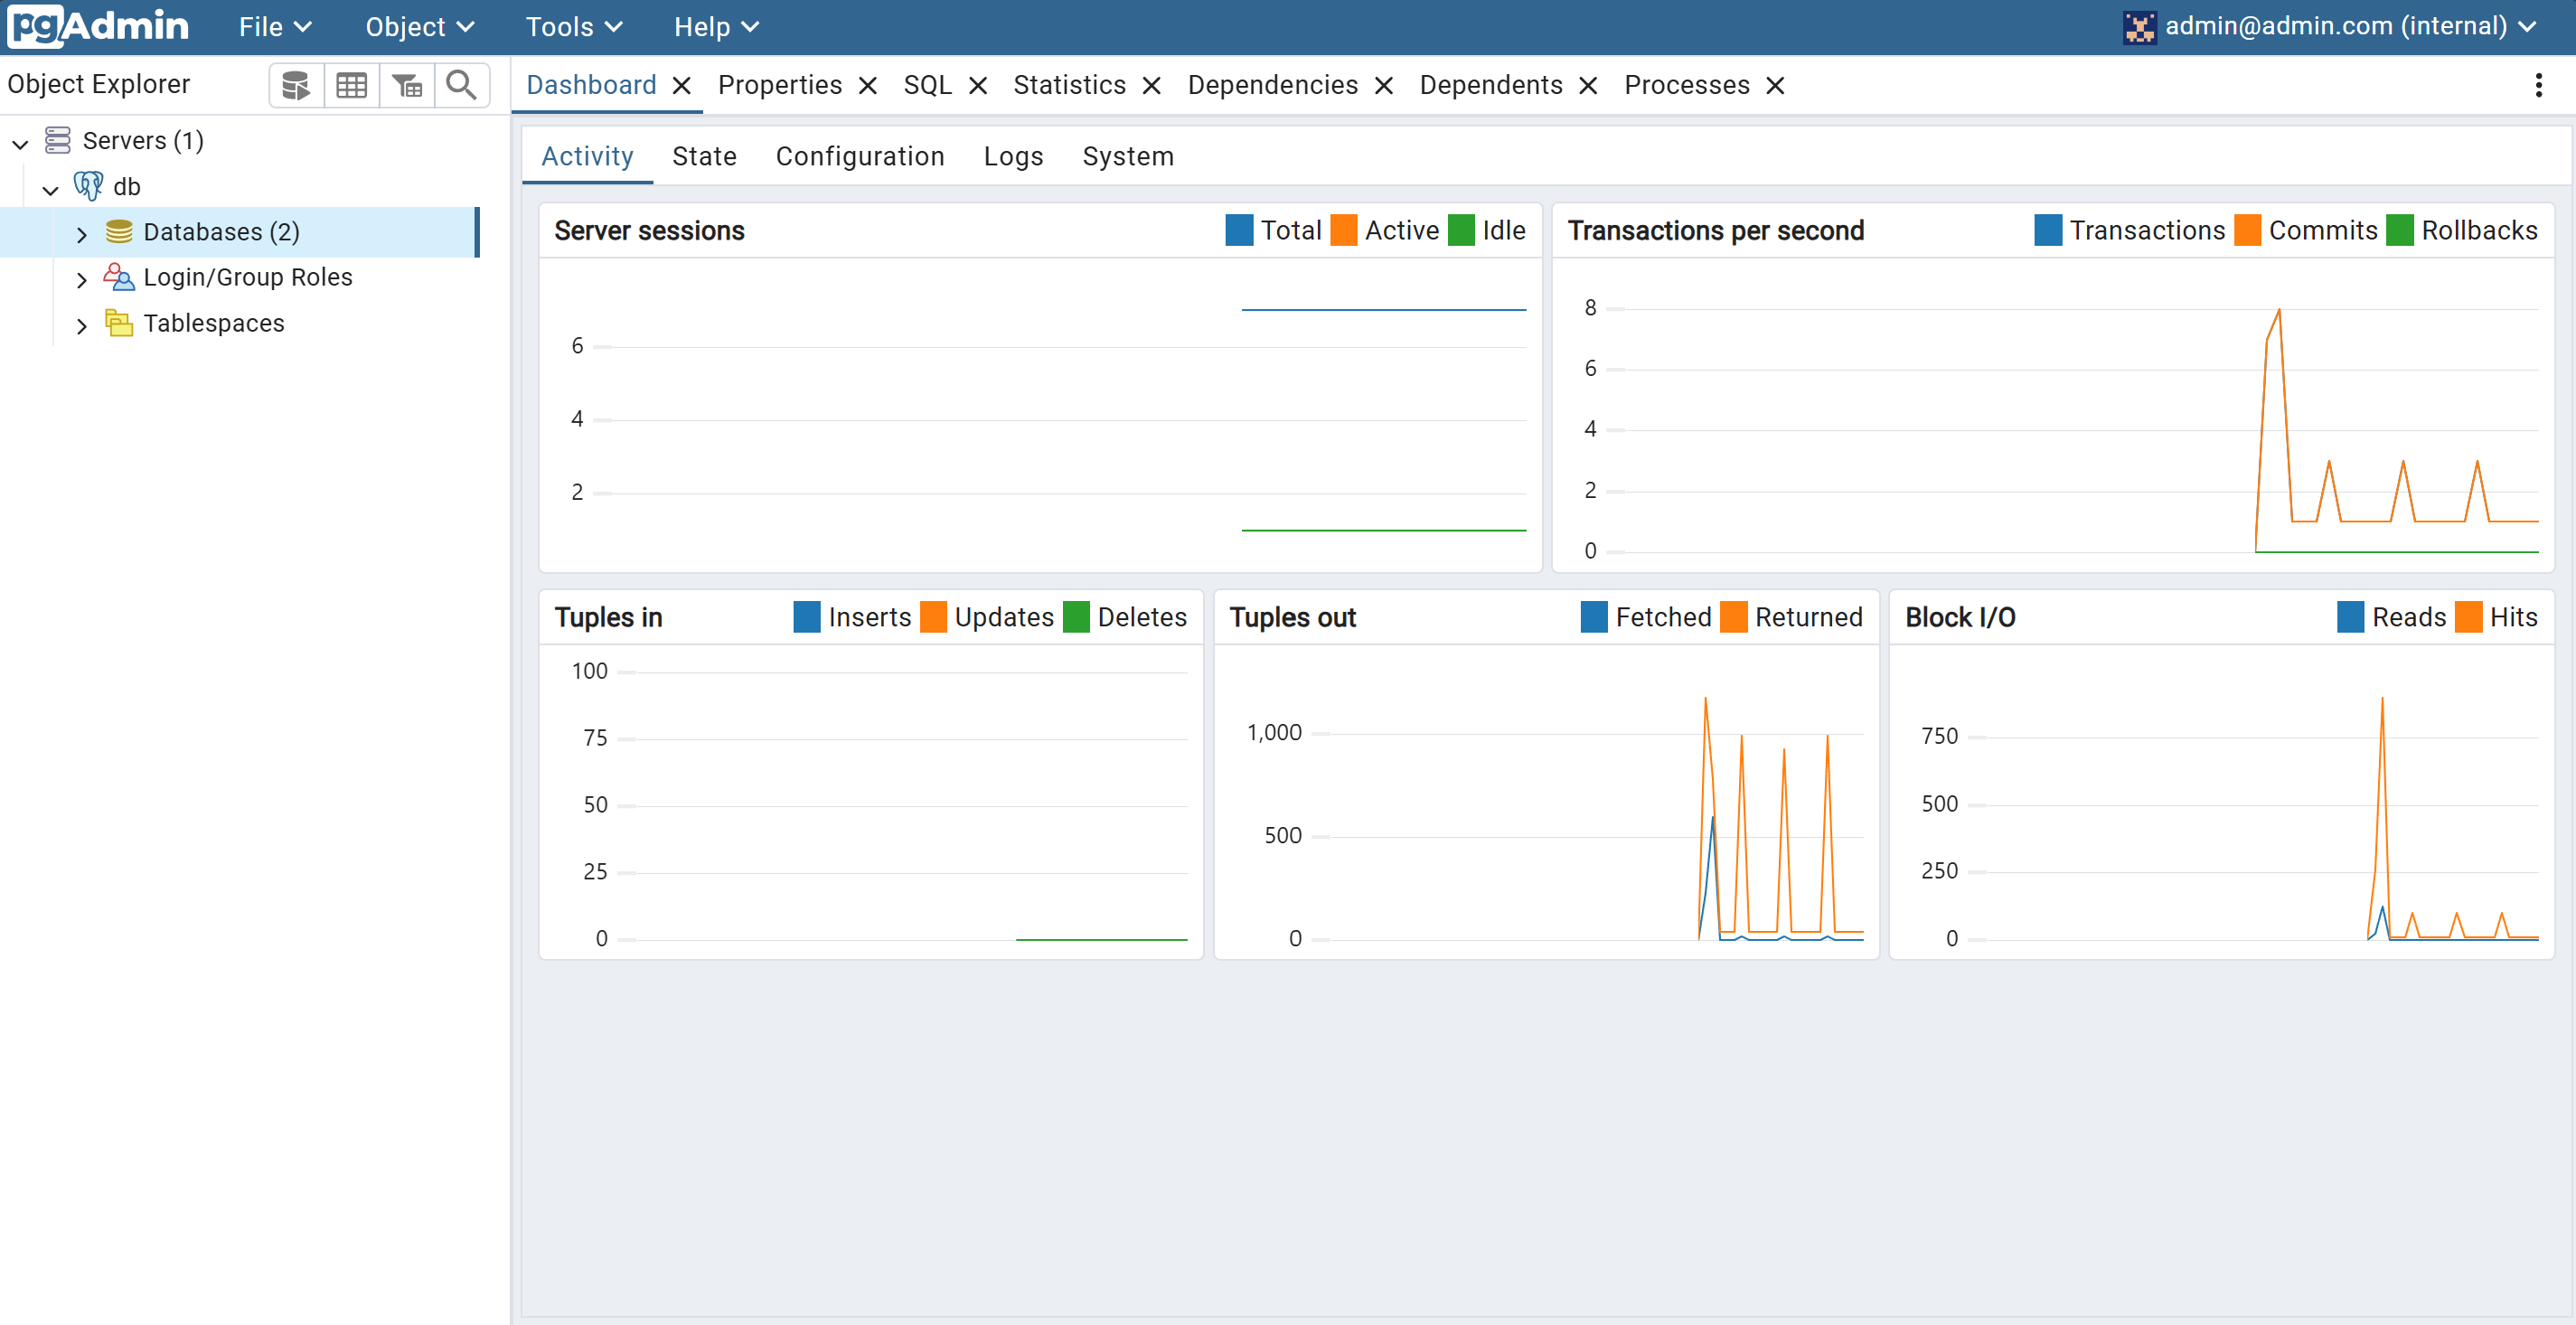
After you click save, you should be able to see and interact with your database.
Starting the backend server
To run both the frontend and the backend, you will need to have two seperate terminal sessions open.
In the first terminal session, navigate to the frontend directory and run the following command to install dependencies:
npm installThen, run the following command to start the frontend server:
npm run devIn the second terminal session, navigate to the backend directory and run the following command to install dependencies:
npm installThen, run the following command to start the backend server:
npm run startIf everything goes well, you should be able to have a fully functioning frontend and backend running on your local machine.
Conclusion
Congratulations! You have successfully set up your development environment and are ready to start contributing to the Aggie Events project. If you have any questions or need help, feel free to ask in the Discord server. Good luck!