When choosing how we wanted to host Aggie Events, we had to consider several factors. We needed something that could handle a backend database, not just serve a static front-end site, and we also wanted something cheap and customizable.
Originally we were leaning towards vercel hosting, which had backend database support, but ultimately chose a Virtual Private Server(VPS) with NerdRack for a limited time special they had at the time and the control it gave us. Personally, setting up a VPS is something I’ve always wanted to learn for projects such as custom photo servers.
Setting Up The NerdRack VPS
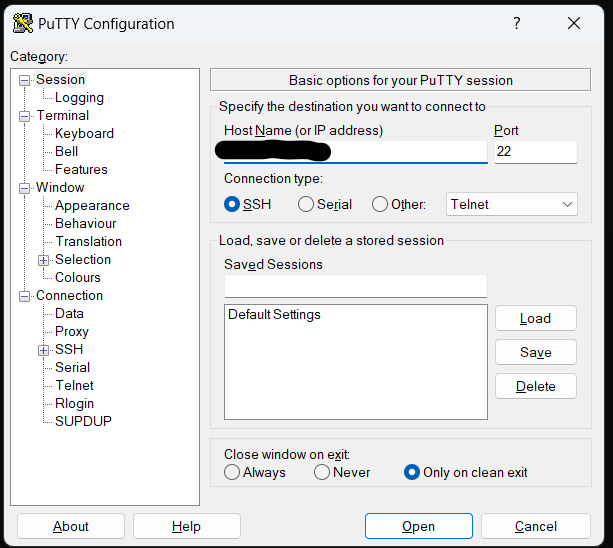
1. Log in through SSH
Since I am operating on a Windows machine I had to install PuTTY an SSH client first. After installing PuTTY I opened an SSH terminal to the server IP and entered the server credentials.
2. Security
Before installing an Apache or NGINX server, I wanted to tackle some security improvements. When browsing online I came across several ideas and considerations when for when securing a server.
- SSH key authentication and disable password authentication
- using a VPN layer on top of SSH key authentication
- Fail2ban brute force login protection
- changing the default SSH port
- enabling a firewall (be careful)
- disabling root log-in and add sudo user
- automatic security updates
- disabling unecessary server ports
- 2FA login for SSH
- data back ups
- Cloudflare DDoS protectionconfigur
- Using a CDN
SSH Key Auth
The general consensus online is that SSH key authentication is a must, so it’s the first thing I set up.
I first opened PuTTYgen which is a public private key pair generator application that comes with PuTTY. I love how it uses random mouse movement for the randomization aspect of key generation. After saving the private key and copying the public key, I logged back into the PuTTY SSH.
Next I create the /.ssh directory. Then using nano created the authorized_keys file and pasted the public key in.
mkdir -p ~/.shh
nano ~/.ssh/authorized_keys
Originally I decided not to update write permissions of the file et, since at this stage root is the owner and I am planning on disabling root login later. Then once a sudo user is created I would have transfered ownership of the file and enable write permissions only for that sudo user. It turns out you need to update the file permissions for key authentication to work so I ran the following commands.
chmod 700 ~/.ssh
chmod 600 ~/.ssh/authorized_keys
Make sure to restart the SSH service everytime you make changes.
sudo systemctl restart sshAfter logging out of SSH and opening the PuTTY configuration editor, I added the private key for authentication.
Accessing SSH through PuTTY it now only asks for a user and then uses the SSH key to authenticate (note: I did make it require a passkey for using the SSH key for extra security)
Finally I modified the sshd config file to disable password authentication.
Adding Users
For security purposes and collaboration purposes, the next item I wanted to tackle was to add new Sudo level users to the server. First I made a sudo level user for myself.
I did this by creating a new user using:
sudo adduser my_usernameThen I gave that user sudo level privledges:
sudo usermod -aG sudo my_usernameAnd finally I switched to that user using:
su - my_usernameI repeated the same steps to set up secure SSH key authentication and repeated everything again to create a user for my Co-PM Alex.
Finally I removed root login by modifying the sshd config file, which has the rootLogin property.
PermitRootLogin noFail2Ban Brute Force Protection
After setting up SSH key pair authentication I looked over the SSH logs and found that there were brute force login attempts to our server literally every few seconds. For this reason I decided it would be best to set up Fail2Ban next, even though we already have SSH key pair authentication.
Fail2Ban blocks traffic from certain IPs after a number of failed login attempts.
These 2 guides were helpful in helping me set up Fail2Ban:
- https://www.digitalocean.com/community/tutorials/how-to-protect-ssh-with-fail2ban-on-ubuntu-22-04
- https://www.digitalocean.com/community/tutorials/how-to-protect-ssh-with-fail2ban-on-ubuntu-22-04
I’m not going to list the exact steps taken to install and set-up Fail2Ban as they very closely followed these guides.
One Fail2Ban feature that I will implement later is email notifications when a ban is placed, but I will first finish setting up the rest of the security features.
When looking through the config file for Fail2Ban I noticed that they offered DDoS protection as well, so this was an alternative I considered to cloudflair.
Changing the SSH Port
This was apparently the best thing we could have done. After changing the SSH login port the number of failed log in attempts jumped to 0 for at least 10 days now as of writing this post.
Configuring Automatic Updates
Used Unattended Upgrades application for this.
Installation:
sudo apt update
sudo apt install unattended-upgrades
Enabling the service:
sudo dpkg-reconfigure --priority=low unattended-upgradesIn the future I will also be enabling email notifications for unattended-upgrades.
Groups
In order to make it easier to secure data with file permissions and still make the data accessible to ourselves, I created a linux group. When we bring more people into back end, this will make it easy to set up blanket permissions.
Creating the group:
sudo groupadd <groupname>Adding users:
sudo usermod -aG usernameFrom here the group can become owners of files. This is helpful if we want owner only access and multiple accounts to to access files or directories.
Data Back Ups
The last thing I wanted to do in terms of server security is data backups.
For file transfer we are using FileZilla, which provides a nice UI for navigating the file system on the server and transfer files to and from the server.
3. File Transfer
FileZilla is an application that provides a UI for navigating the file system on the server and also uses SFTP (secure file transfer protocol) to allow files to be transfered between our machines to the server.
