Using Docker to host a PostgreSQL database
With the rise of containerization, Docker has become an essential tool in modern software development, providing a consistent and isolated environment for running applications. In this article, I’m going to document how I set up a PostgreSQL database for use both in a development environment and production.
What even is Docker?
Ever tried installing an application on your computer, only to find that it requires specific versions of certain dependencies, which conflict with other software you have installed? Or, have you ever wished that you could boot up an entire network of applications with no setup instantly from your terminal?
Docker solves this by letting you package an app and all its dependencies into one unit called a container. These containers are self contained units created with only a script, ensuring that it can run consistently across different environments and doesn’t interfere with the host computer.
Setting up your PostgreSQL image
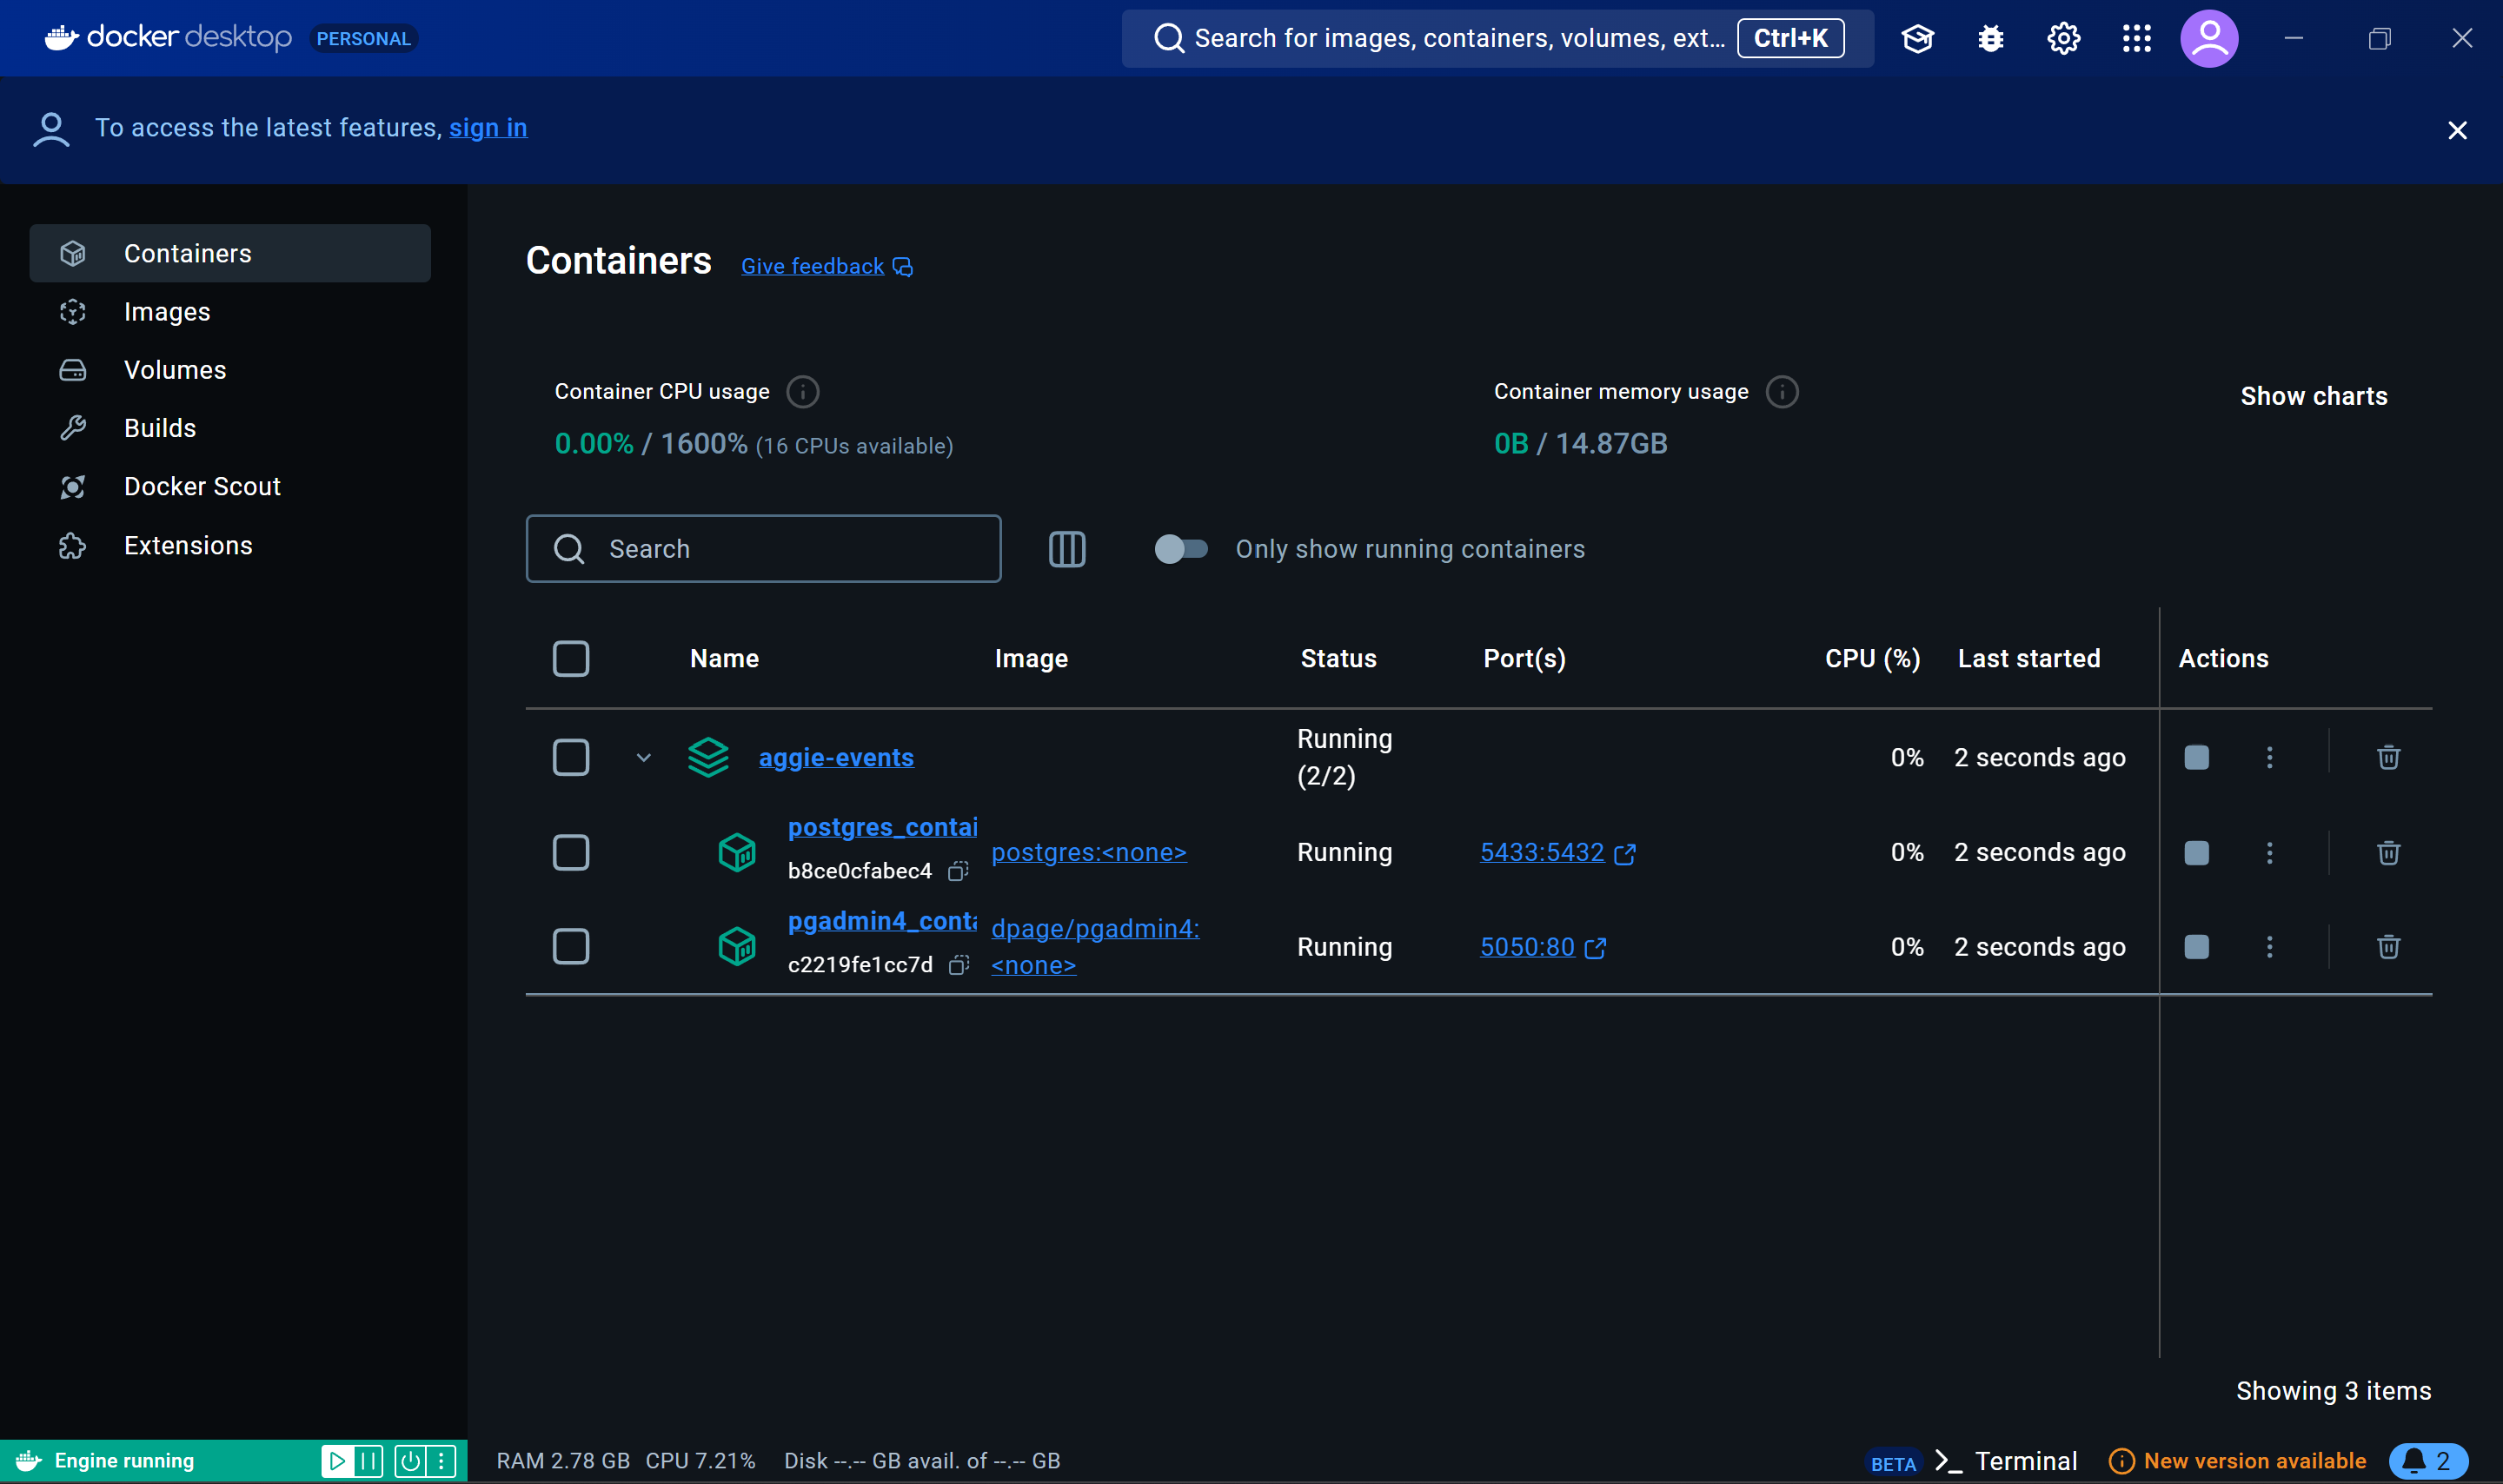
Download Docker Desktop
Using Docker Desktop makes it really easy manage your docker containers through a GUI.
Creating a Docker Compose file
Create a file called compose.yaml and paste this in:
services:
  db:
    container_name: postgres_container
    image: postgres
    ports:
      - "5432:5432"
    environment:
      POSTGRES_USER: "postgres"
      POSTGRES_PASSWORD: "password"
      POSTGRES_DB: "test_db"
Now, you can run this container by typing this command in your terminal:
docker compose up -dThis super simple script is all you need to get a PostgreSQL database running on your system. See how you didn’t need to download PostgreSQL yourself?
Accessing the Docker database
To actually access and use your local database instance, there are many different methods. Sticking with the Docker theme though, you can actually pull and run a pgAdmin container without any extra hassle.
Simply add this to the compose.yaml:
    pgadmin:
        container_name: pgadmin4_container
        image: dpage/pgadmin4
        environment:
            PGADMIN_DEFAULT_EMAIL: [email protected]
            PGADMIN_DEFAULT_PASSWORD: password
        ports:
        - "5050:80"
If you rerun the compose.yaml file, you should see the pgAdmin web interface when you navigate to http://localhost:5050/
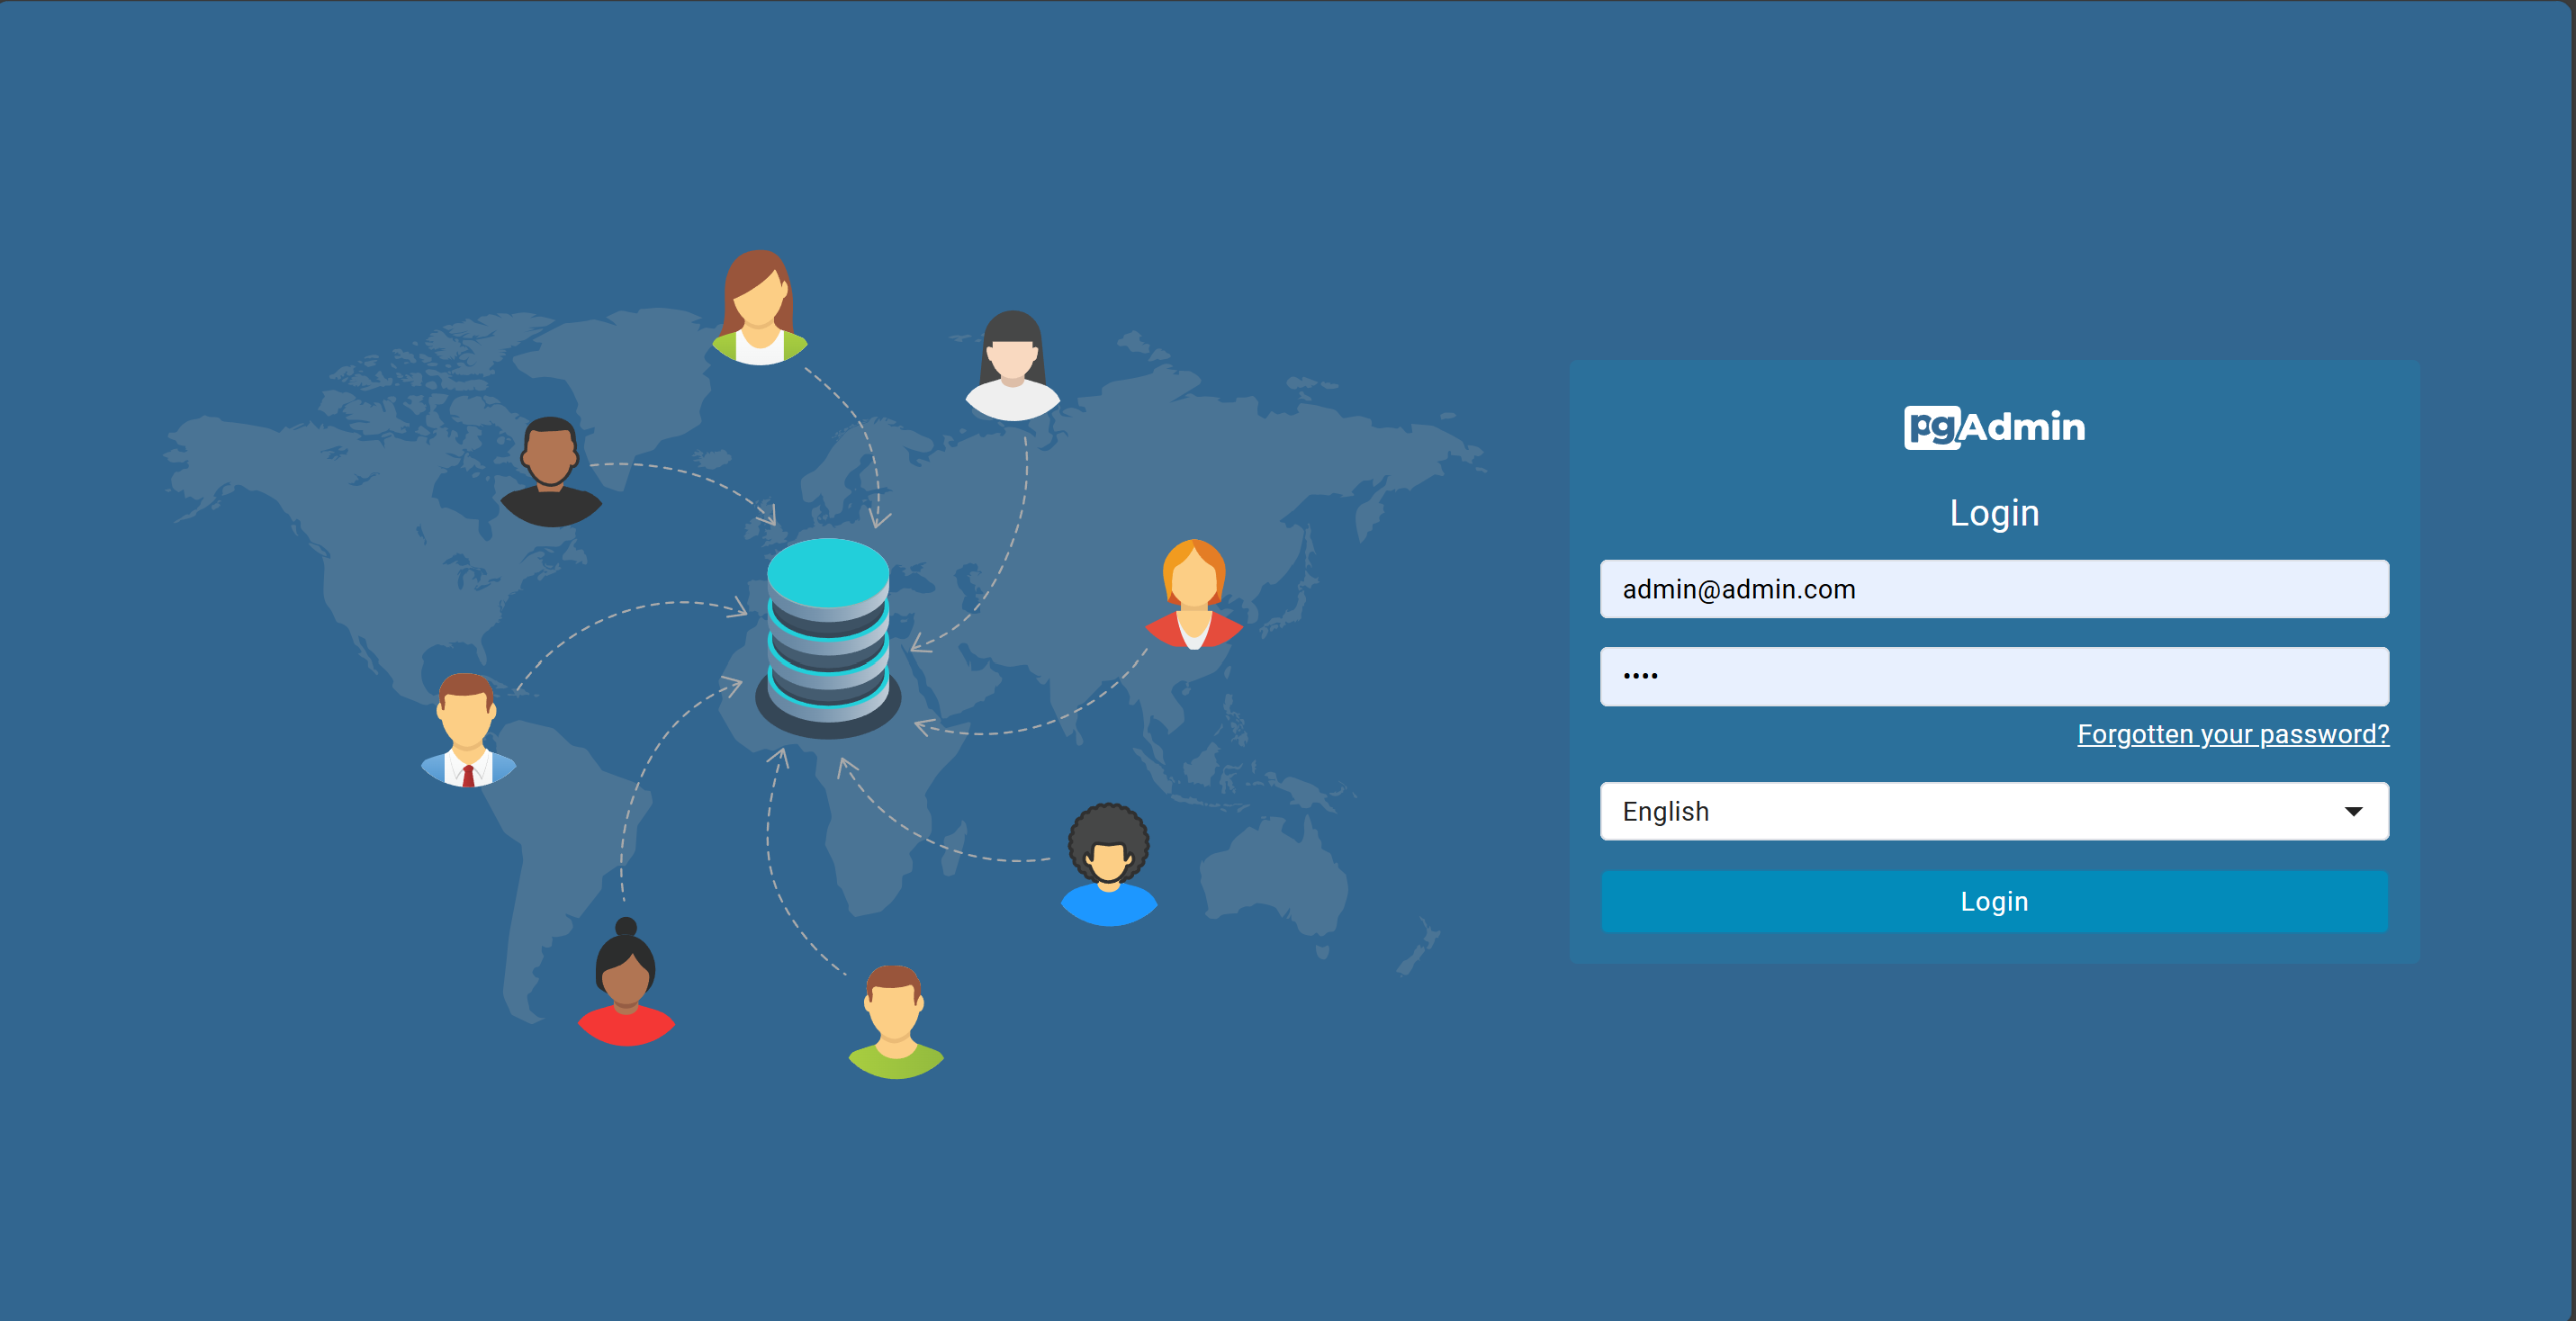
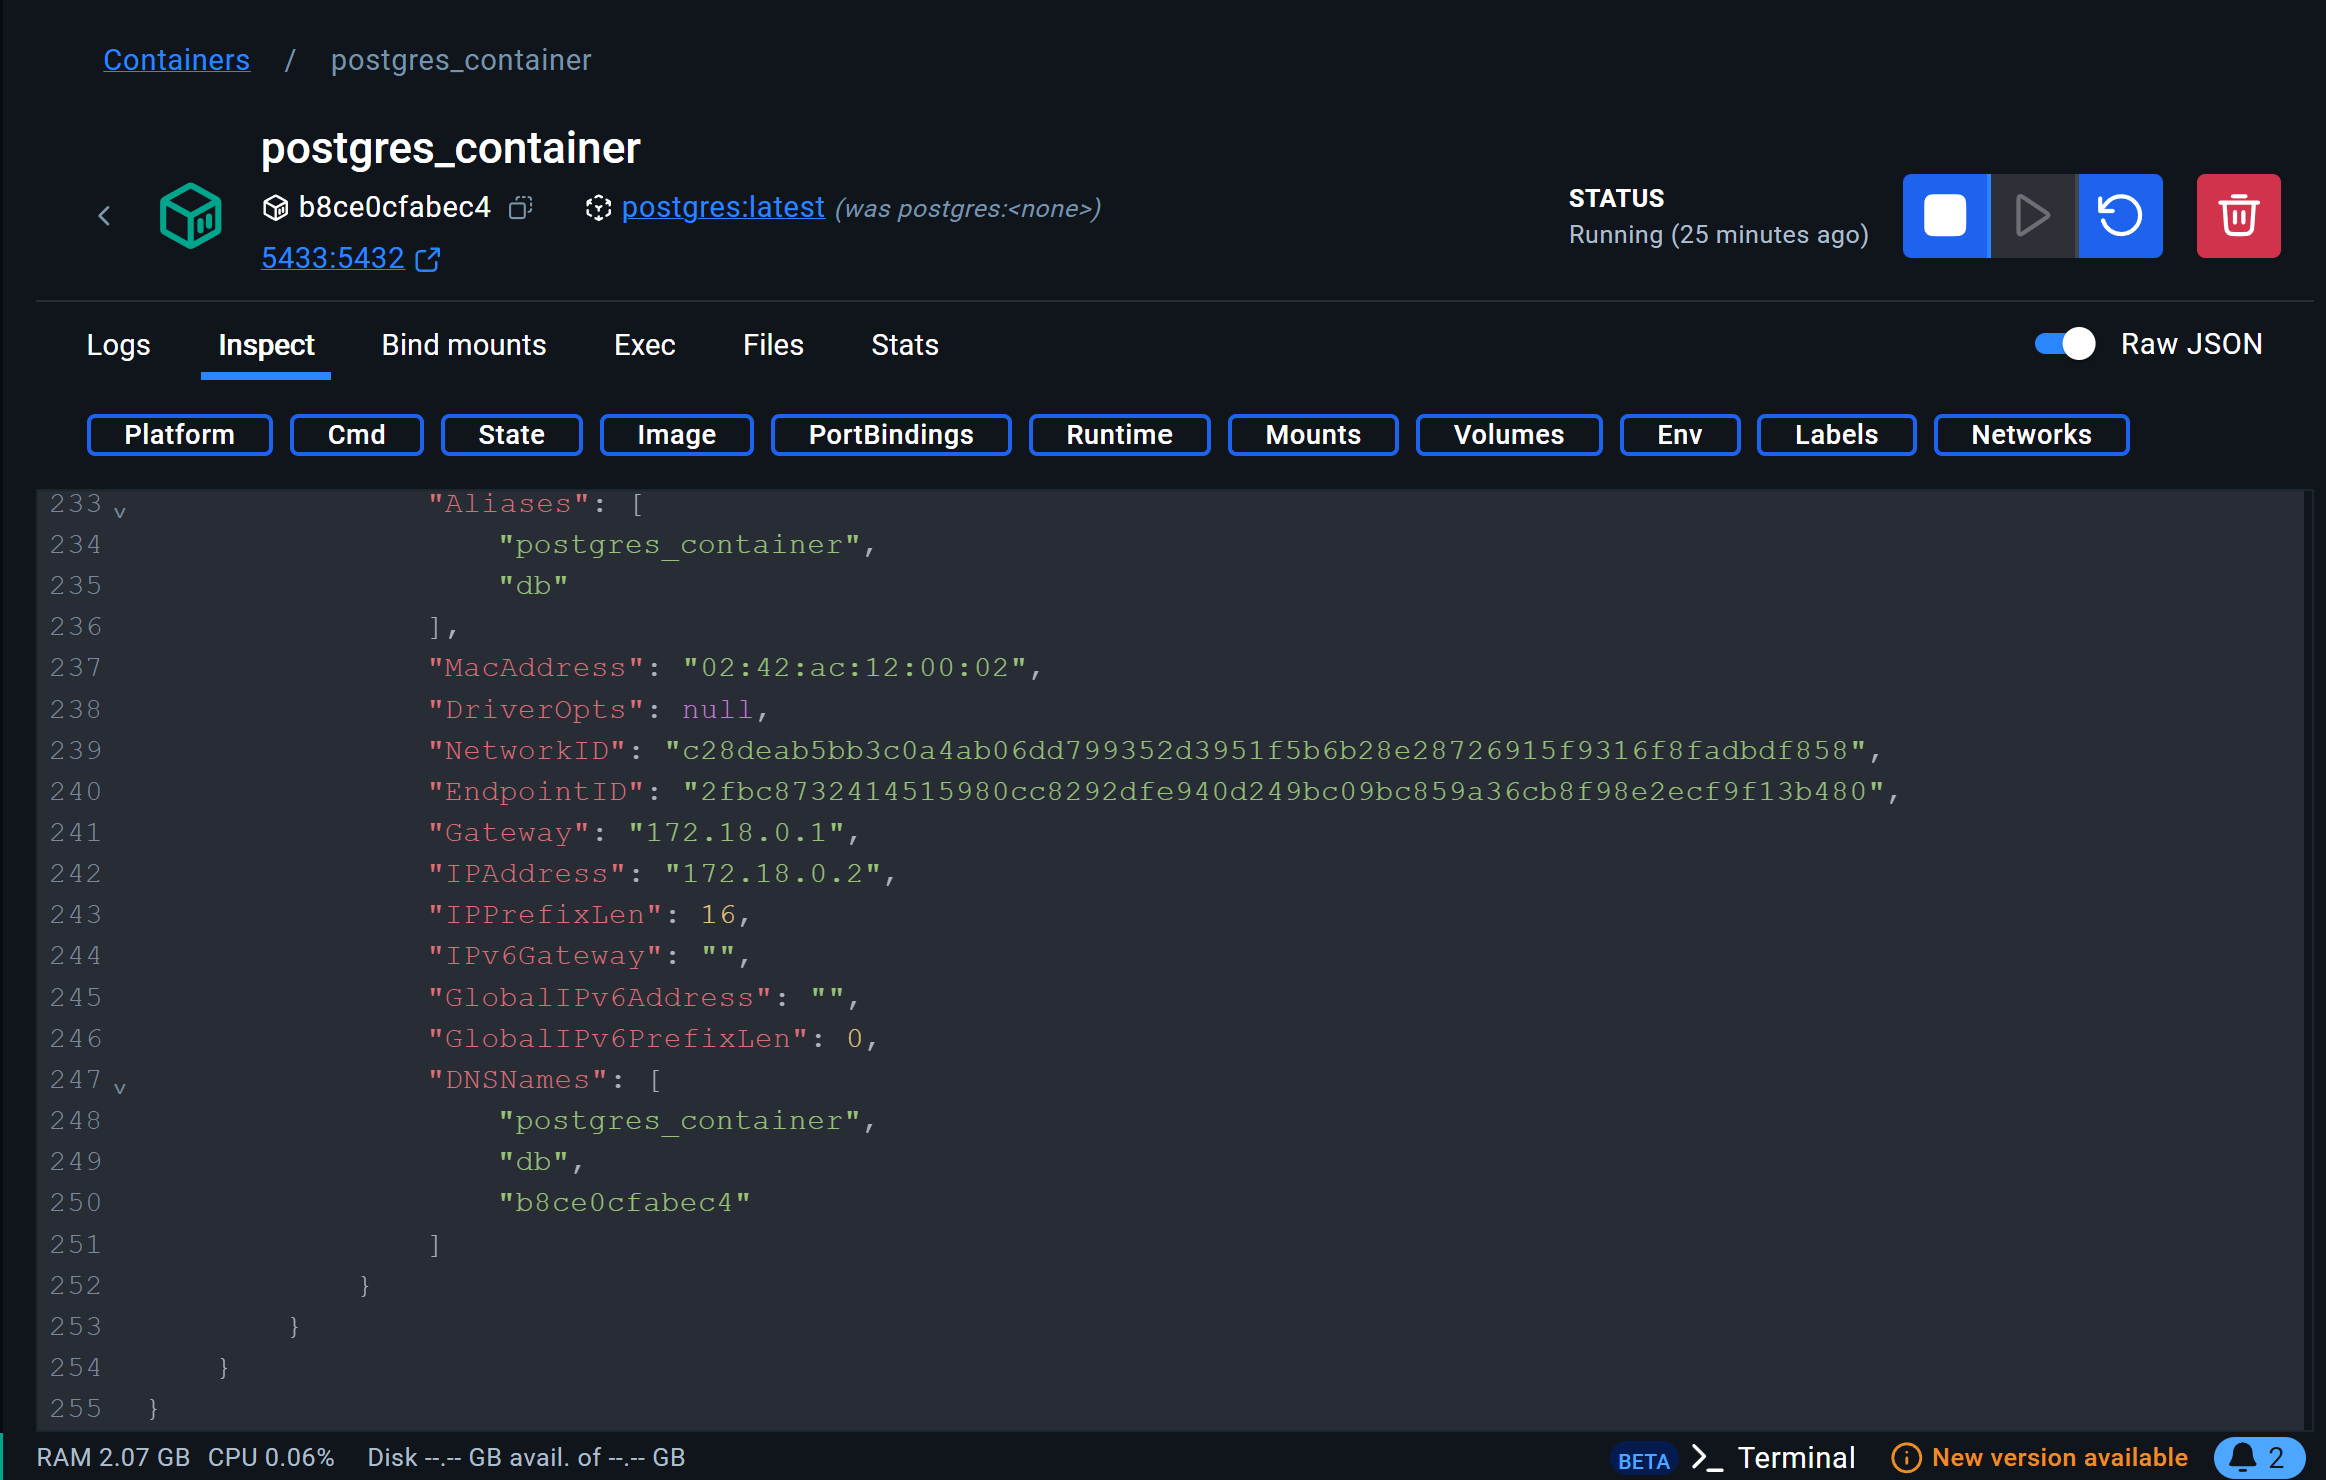
Log in with the email and password specified in the compose.yaml file. To actually register the database into pgAdmin, you will have to first find the IP address of your PostgreSQL docker container. This can be found by either using the docker inspect [container_name] command, or by using inspect in Docker Desktop.
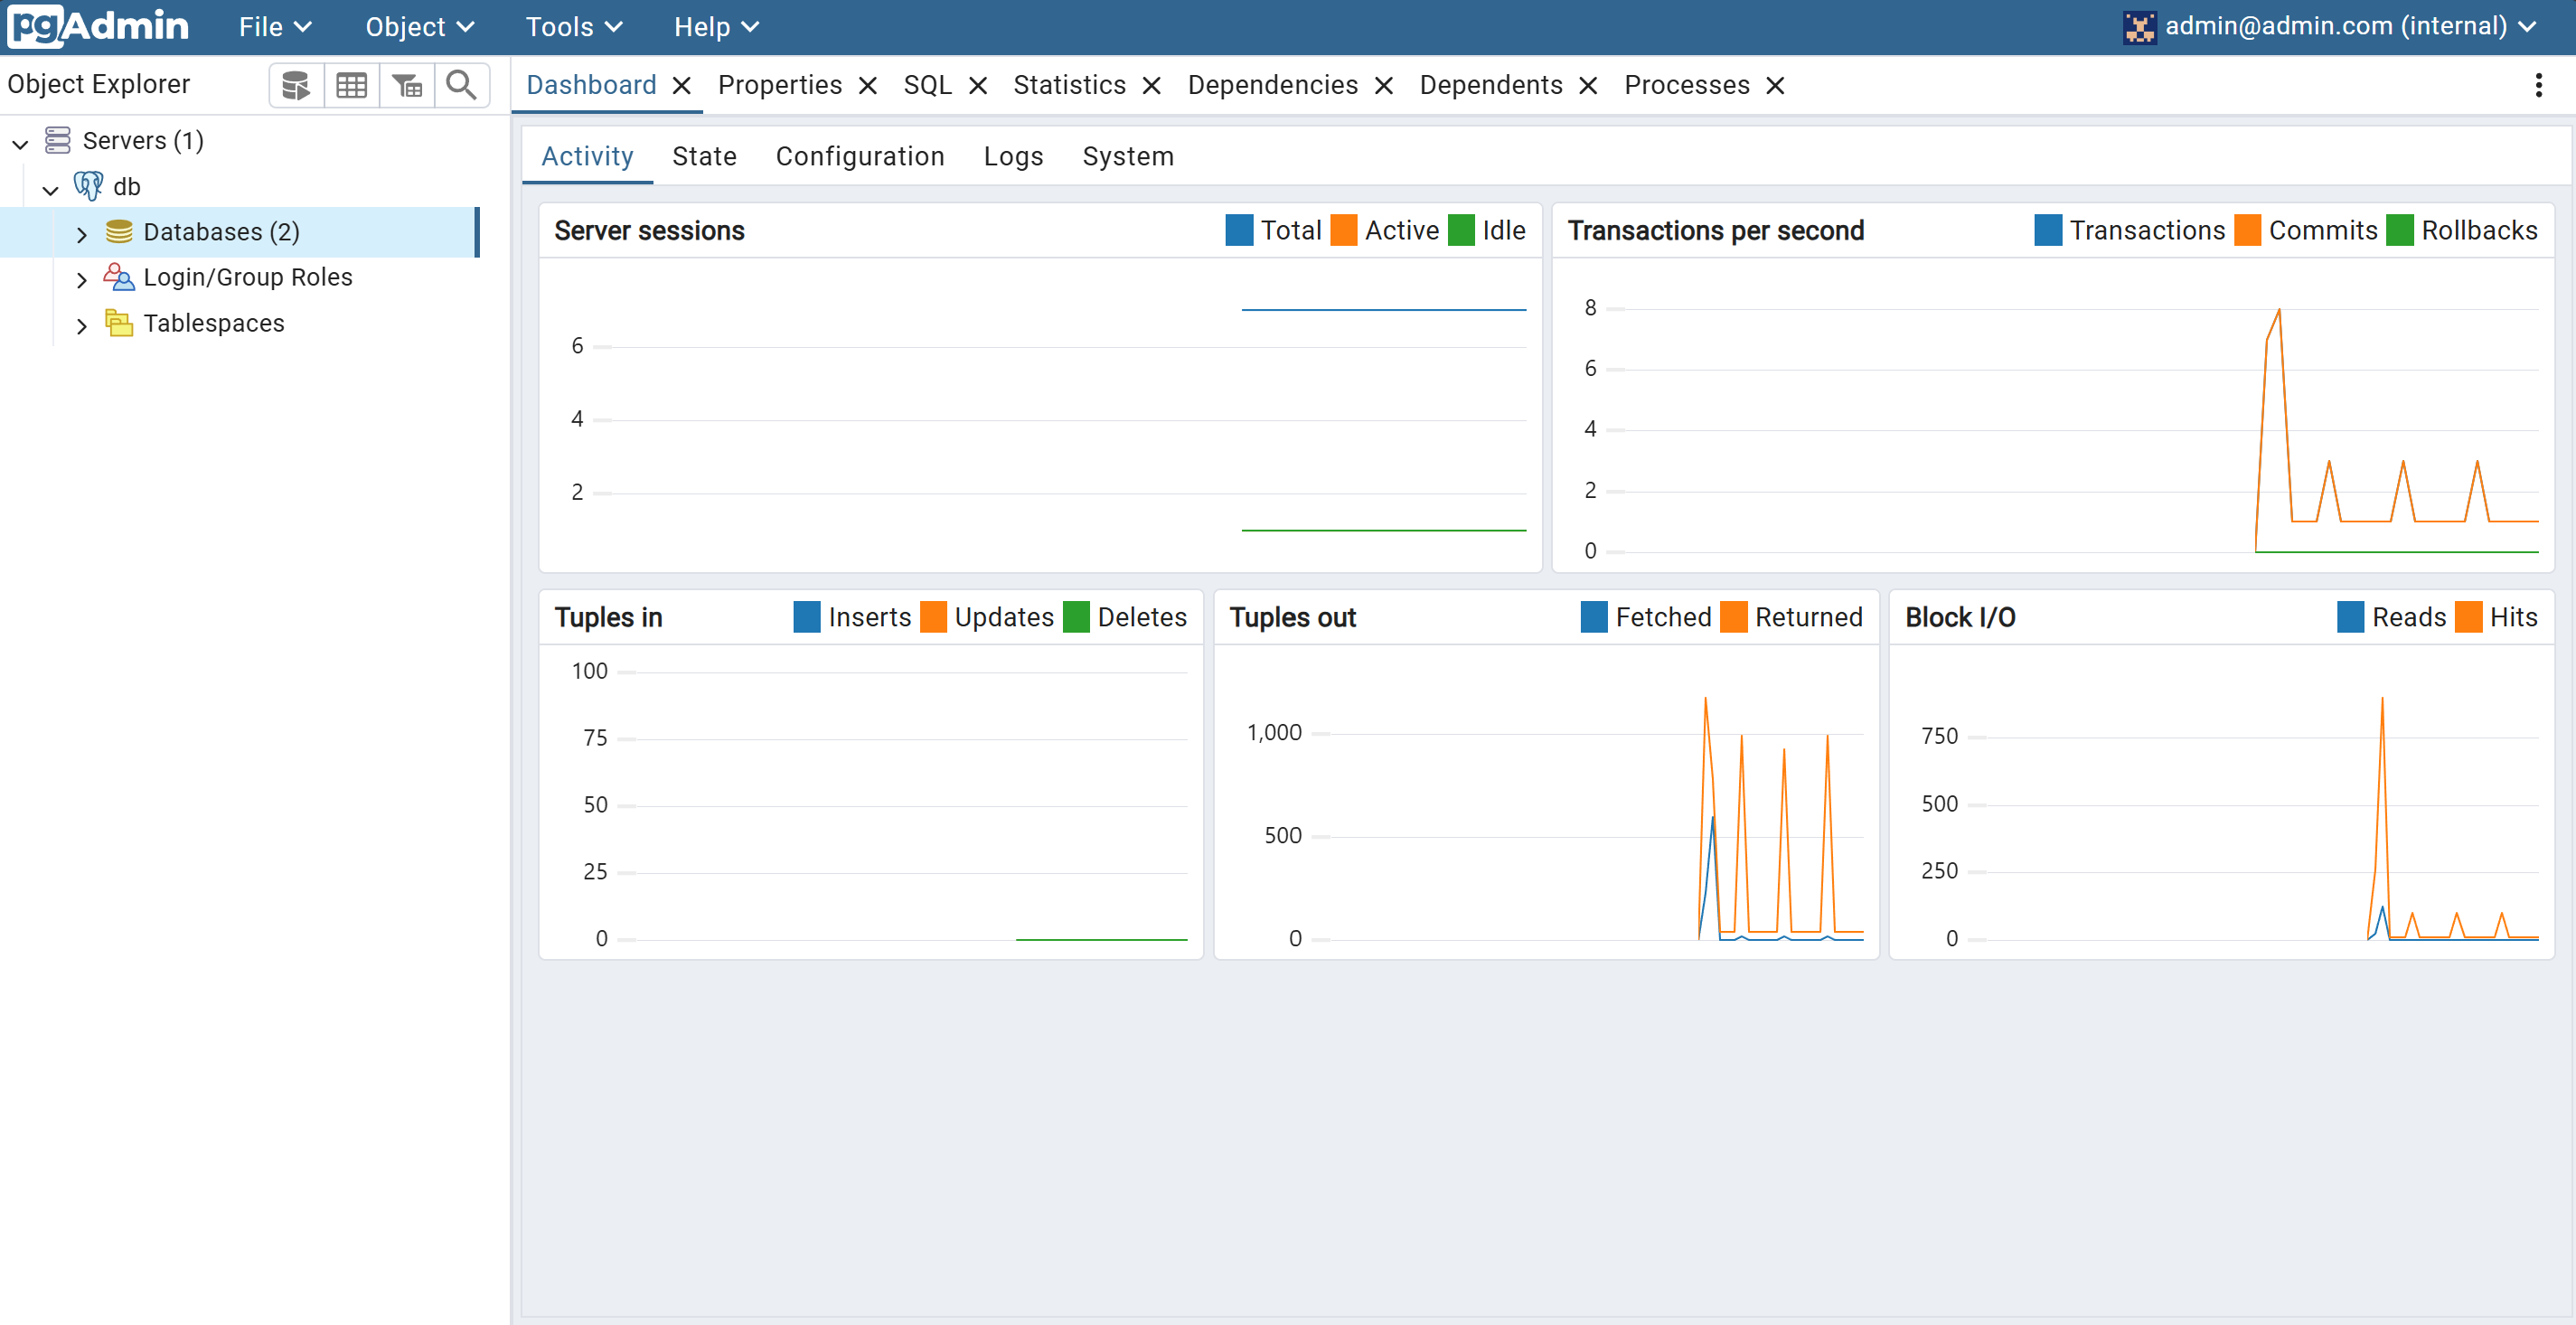
Next, you can register a database in the pgAdmin web interface by right-clicking on Servers, and clicking Register > Server. Put any name you like.
In the Connection tab, put the Docker container IP address. Change the username and password to the database credentials specified under the compose.yaml POSTGRES environment variables.
If everything goes well, you should be able to see and interact with your database.
Some final touches
This is the final script with some features added in:
services:
  db:
    container_name: postgres_container
    image: postgres
    restart: always
    volumes:
      - ./pgdata:/var/lib/postgresql/data
    ports:
      - "5432:5432"
    environment:
      POSTGRES_USER: "postgres"
      POSTGRES_PASSWORD: "password"
      POSTGRES_DB: "test_db"
  pgadmin:
    container_name: pgadmin4_container
    image: dpage/pgadmin4
    restart: always
    environment:
      PGADMIN_DEFAULT_EMAIL: [email protected]
      PGADMIN_DEFAULT_PASSWORD: password
    ports:
      - "5050:80"
There are two additions to the previous compose.yaml.
One is the restart: always keyword which just means that if the Docker service is stopped, when it is started again, these containers will automatically start as well.
The other is the volumes keyword, which essentially means that your database is saved through each container run in the pgdata folder. Otherwise, all your data would be wiped if the container was ever restarted.